

Navigating the process of obtaining a Schengen visa is daunting for Indian travelers. Lack of clear and concise guidelines, unclear documentation requirements, and fear of rejection results force travelers to opt for travel agents and pay high service fees.
In this comprehensive yet concise guide, we’ll walk you through everything you need to know to successfully apply for a Schengen tourist visa from India.
What is a Schengen Visa?
The Schengen visa is a document that allows you to travel freely within the Schengen Area, comprising 27 European countries. This single visa eliminates the need for separate visas for each country within the Schengen Area, making travel more convenient for Indian tourists looking to explore multiple European destinations.
Step 1: Determine Your Eligibility
Before applying for a Schengen visa, it’s essential to determine your eligibility and gather all the necessary documents. As an Indian traveler, you’ll typically need to provide the following:
- Valid Passport: Your passport should be valid for at least three months beyond your intended stay in the Schengen Area and must have been issued within the last 10 years.
- Travel Itinerary: Provide a detailed itinerary of your trip, including your planned dates of entry and exit, as well as the countries you intend to visit. Supplement your travel itinerary with a return flight ticket to show clear intention of leaving the Schengen area.
- Proof of Accommodation: Booked accommodations for the duration of your stay, whether it’s hotels, hostels, or Airbnb rentals.
- Travel Insurance: A travel insurance policy covering medical expenses and repatriation for at least €30,000.
- Proof of Funds: Evidence of sufficient funds to cover your expenses during your stay in the Schengen Area. Approx €120 per day.
- Purpose of Visit: Depending on your reason for visiting (tourism, business, visiting family/friends, etc.), you may need to provide additional documentation such as invitation letters, conference registrations, or employment verification.
Tip:
- Ensure to book a refundable flight and accommodation.
Step 2: Choose the Right Embassy or Consulate
- As an Indian traveler, you’ll need to apply for a Schengen visa at the embassy or consulate of the country of your main event or you plan to spend the most time in. In case you intend to spend the same number of days in more than one country, choose the country where you plan to enter first.
- Each Schengen country has its own embassy or consulate in India, so it’s essential to determine which one you need to apply to based on your travel plans.
Step 3: Fill the Application Form
For most Schengen countries, VFS Global is the designated partner for the visa process.
Go to https://www.vfsglobal.com/en/individuals/index.html and add details country you are applying for the visa from and the country where you want to apply the visa for.
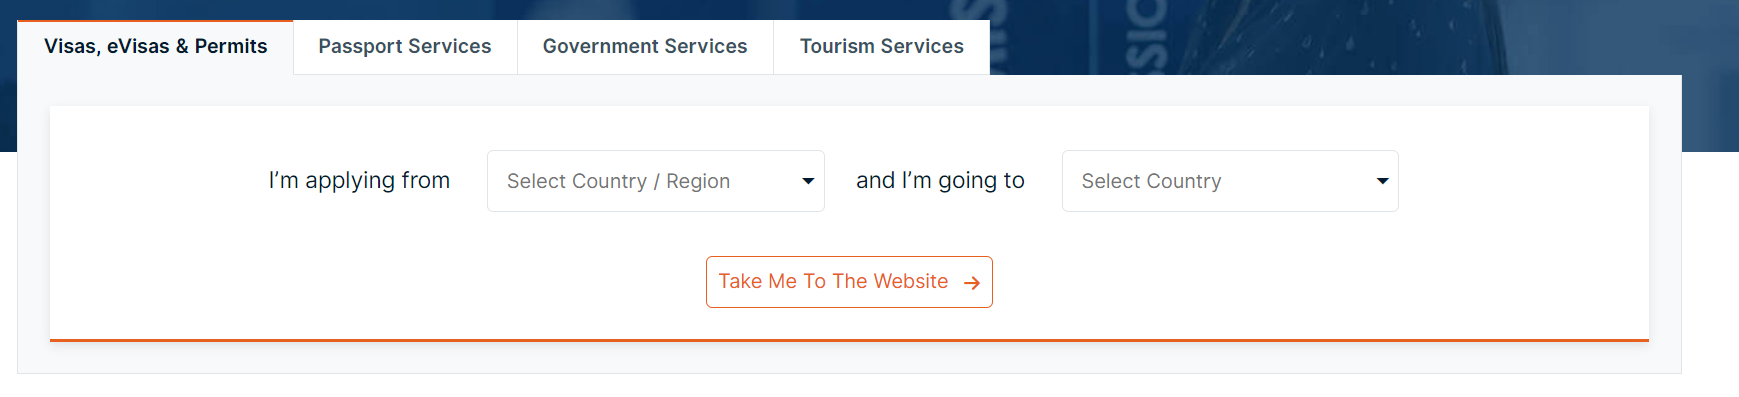
Depending on the country, you will be asked to fill out the application form online or offline.
For France, go to https://france-visas.gouv.fr/en-US/web/france-visas/ and click “Start your visa application”. You will have to create an account for the same. Once the visa application is complete, you will be able to download the softcopy of the application along with the registration receipt.
In the case of an online application, you will be allowed to download the application that you need to print, sign, and attach passport photos.
Ensure your passport-size photos are as per the required guidelines mentioned in the below document.
Tips:
- Ensure to put last name/surname as per passport and first name given name
- Ensure that the address you provide in the application is the same as the address on the passport.
- It is perfectly fine if you are staying at a different location than the one mentioned in the passport as long as you can still relate to that address.
- Ensure to provide the employer’s registered name (and not just the company brand name) in the application. Typically the registered name is found in the salary slip and employment verification letter.
Step 4. Schedule an Appointment at VFS
After completing the application form, you’ll need to schedule an appointment at VFS Visa Application Center, to submit your application and provide biometrics. Follow the same VFS page mentioned above and click on the ‘Book an appointment’ link (see example image below). Follow instructions and complete the booking process. Booking an apoointment will cost Rs. 1825/- per person.
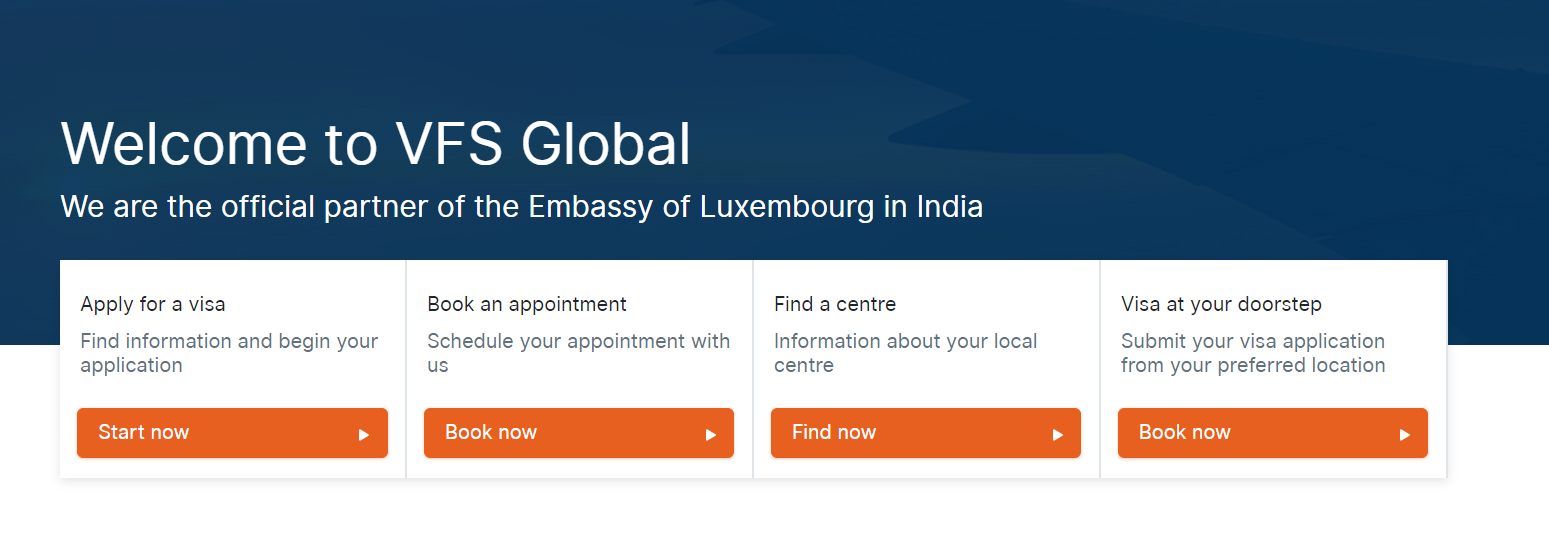
Once the appointment is booked, you will get confirmation as mail and PDF. This will be required to enter the VFS-VAC at the date and time of the appointment.
Choosing Optional Services:
Right from appointment booking to document submission, VFS will try its best to upsell optional services like the premium lounge, application status alerts, passport delivery service, courier assurance, etc.
Only the passport delivery service (Rs. 500/- per person) is worth considering as it avoids the hassle of visiting the VAC again. In most cases, SMS and email notifications are provided at every visa application stage.
If you have chosen a passport delivery service, you will be given a consent form that you have to fill out and take to the VAC. Only one consent form is sufficient if you intend to have all the passports delivered to the same address.
Tip:
- Appointment dates fill fast, especially when the dates are near to appointment timings.
- If your documents are ready, book the appointment as early as possible. If not, take it for a date 8-10 days later, and use the time to prepare documents.
- Pro Tip: If you are taking an appointment as a family, don’t book the very first timeslot. There are chances of family members getting different timeslots in case there are fewer seats available in the selected slot. To avoid getting separate timeslots and the hassle of dealing with VFS guys at the time of appointment, choose the second or third timeslot visible to you on the appointment page.
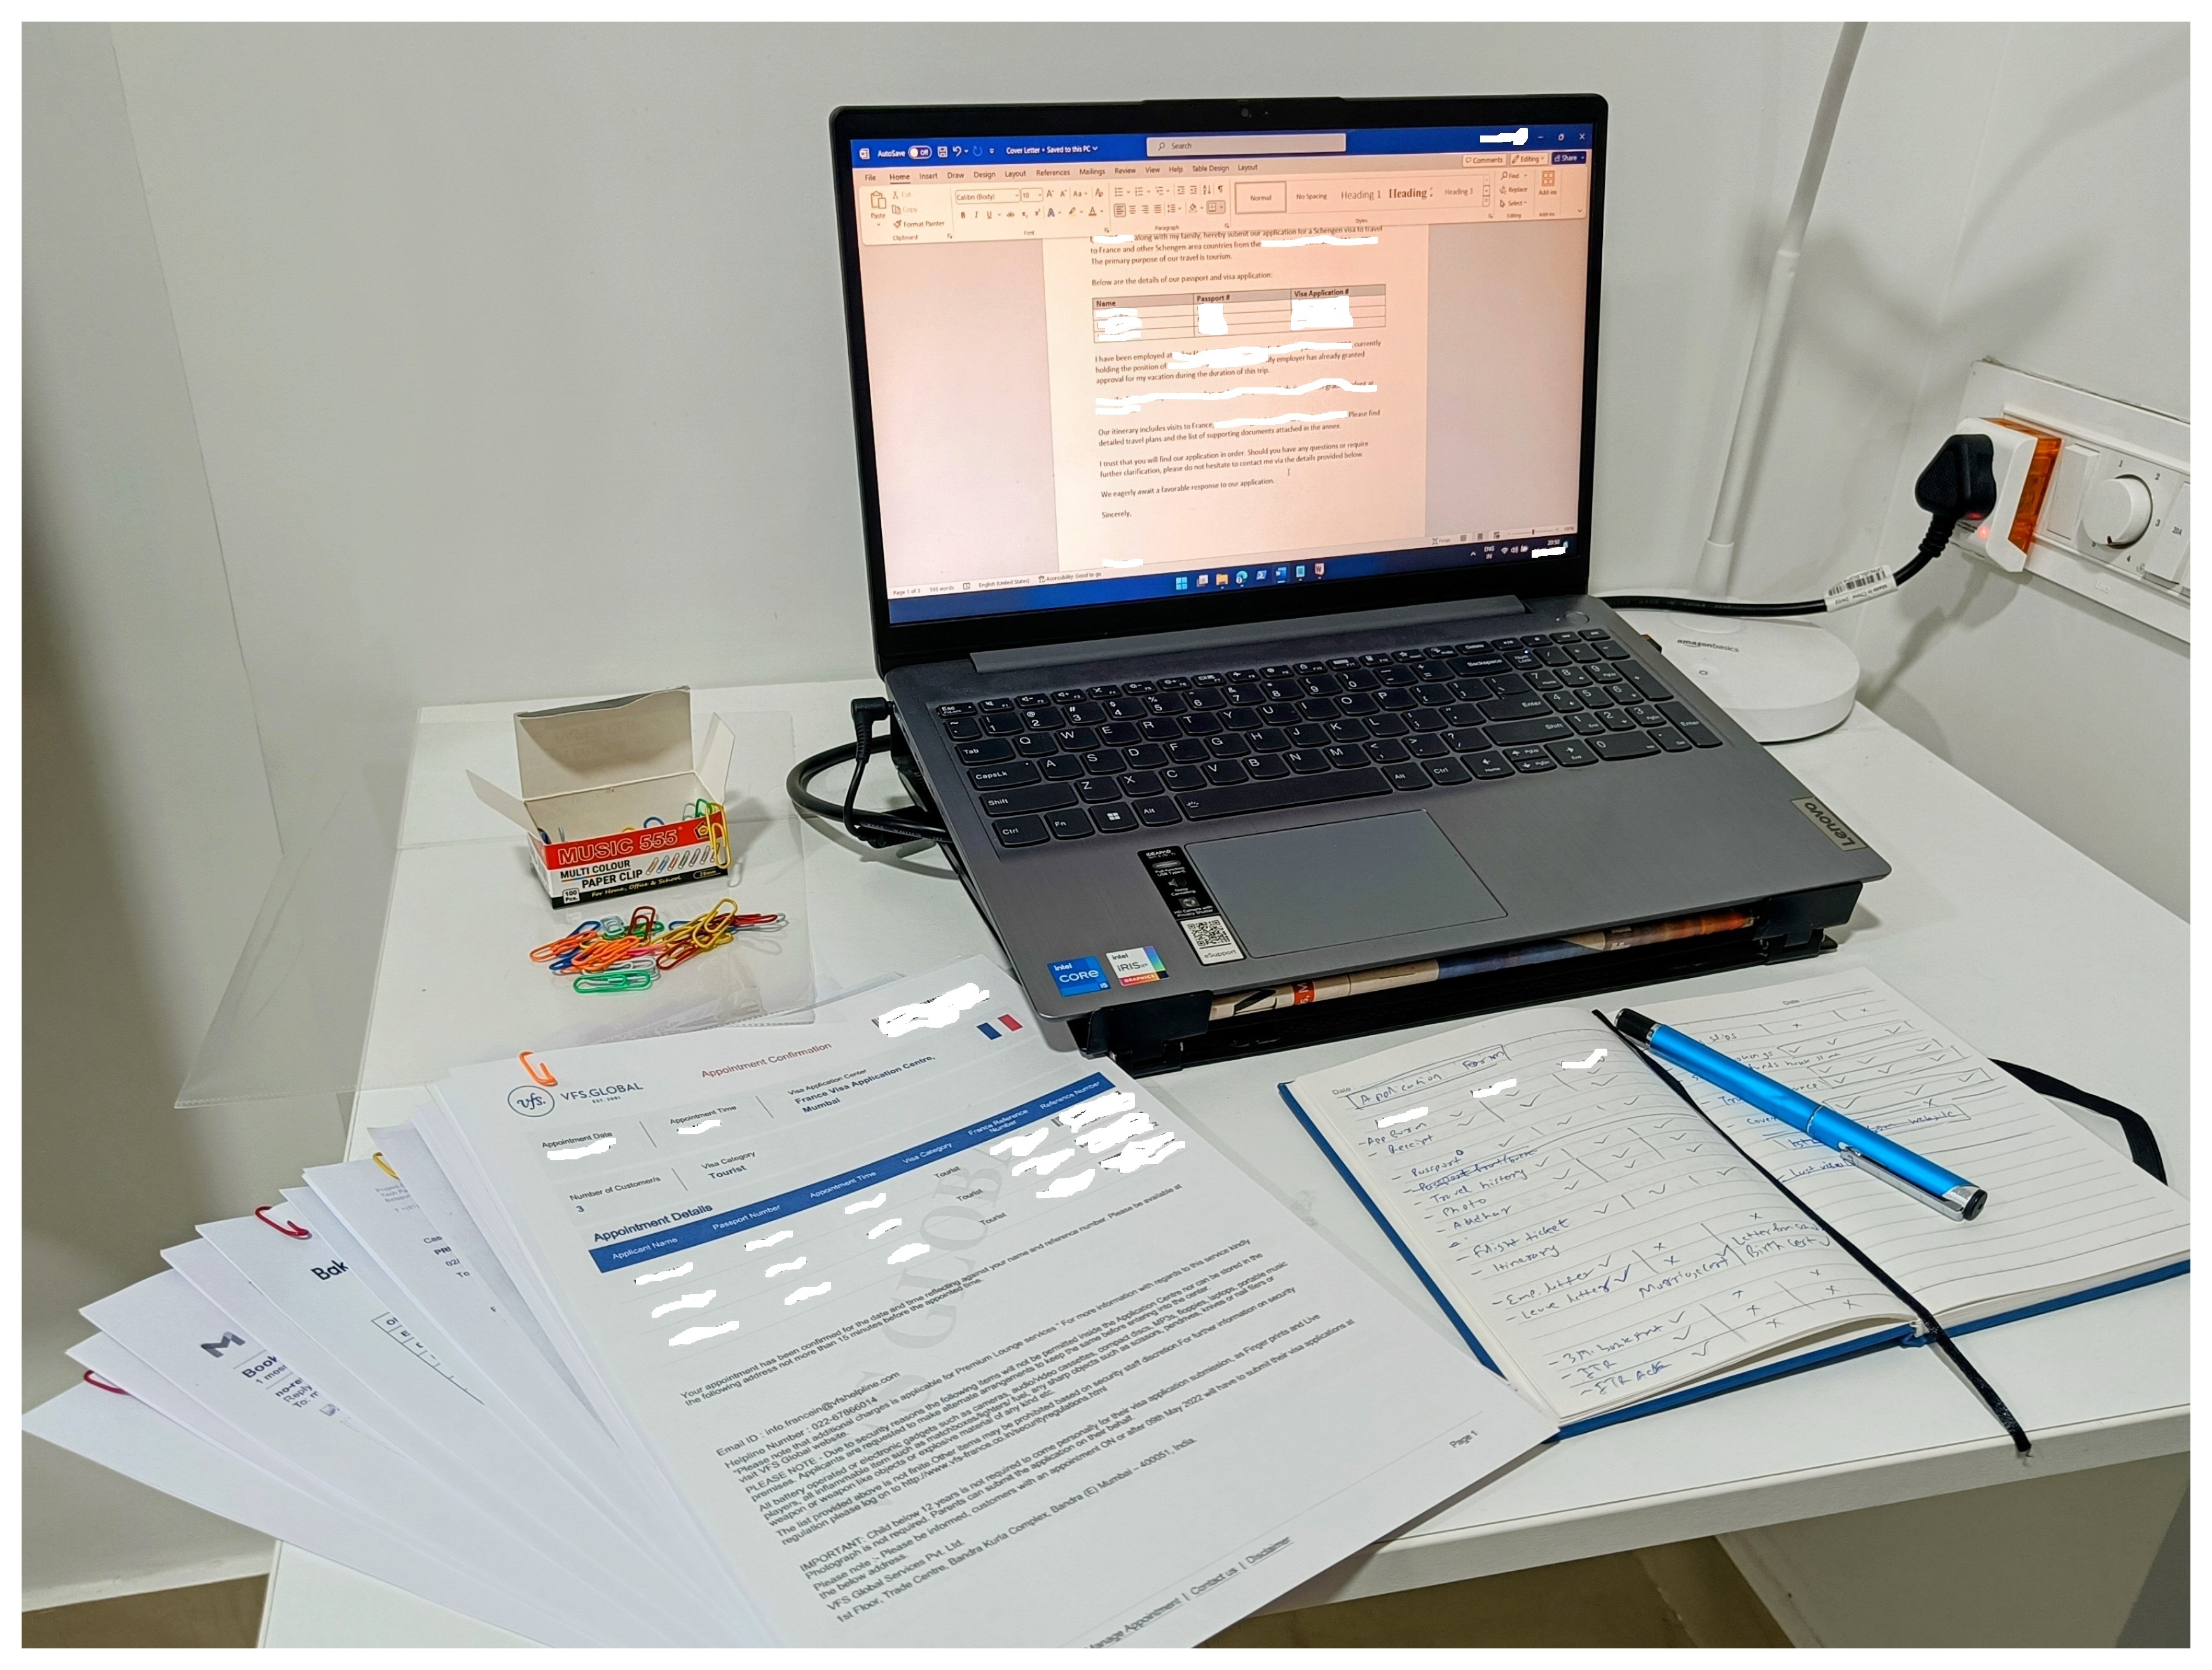
Step 5. Prepare Supporting Documents
This is perhaps the most exhaustive, time-consuming, and important step. An indicative list is provided by VFS and/or along with the visa application. Note that it is not a comprehensive list. Use your judgment to decide what to take.
Keep in mind, while reviewing the visa application, the consulate officer is essentially looking for the following two points and your document should be around these two.
- You can financially afford your trip.
- You are going to leave the Schengen area on time.
Here is the list that can come in handy while preparing the supporting documents…
| Sr # | Item | Note |
| 1 | Cover letter with Itinerary | Link to a cover letter template is given below this table. |
| 2 | Passport copy with travel history | Visa and/or entry exist stamp pages. |
| 3 | Hotel bookings | |
| 4 | Return flight ticket | |
| 5 | Employment verification letter | If possible, get it stamped from your employer. |
| 6 | Leave approval letter from the employer | If possible, get it stamped from your employer. |
| 7 | Student verification letter / NoC from school/college for minor | |
| 8 | Birth certificate of minor | |
| 9 | Marriage certificate | Optional, if the passport is endored with spouse’s name. |
| 10 | Last 3 months’ bank statement | Get them signed and stamped by the bank. Some embassies may ask for 6 months. |
| 11 | Last 3 month’s salary slip | Some embassies may ask for 6 months. |
| 12 | Last FY ITR Acknowledgement | Last FY ITR is optional. Some embassies may ask for the last 3 FY. |
| 13 | Travel Insurance | Ensure that the insurance covers medical expenses of at least €30,000 per person and has COVID-19 cover. |
| 14 | Investment documents | Not mandatory but good to provide to showcase sound financial status. |
Cover Letter Template:
Printable Checklist:
Ensure to review the list provided by the country for which you are submitting the application. It may defer from the list above.
The following documents are not required as per my recent experience.
- PAN card
- Aadhar card
Tip:
- Print the appointment letter in color.
- For contingency, have 2 sets of the documents (photocopies, prints) where possible.
- Do not staple documents. Group and arrange with U-pins and L-folders so it is easy to rearrange if required.
- It is recommended to print previous visa(s) on individual papers and not on the front and back of a single paper.
Step 6: Visit the VAC at the Scheduled Appointment Time
Ensure you are taking the following items to the VAC.
- Your current passport and old passport(s) – if they have visa(s) of any country.
- Duly signed visa application form, obtained in step # 3, attached with photograph.
- VFS Appointment letter and filled and signed consent form (if applicable), obtained in step # 4.
- All documents are prepared in step # 5.
- Second set of the application form(s) and supporting documents. (Optional)
- Extra passport-size photos.
- Original documents where applicable – birth certificate, marriage certificate, etc.
- Pen
- Credit/Debit card or cash for the visa fee payment.
Charges:Visa Fees
Adult: Euro 80 | Approx Rs. 7319/-
Kids: Euro 40 | Approx Rs. 3660/-
At the VAC
- Reach the VAC at least 15 minutes before the appointment time.
- At VAC, your documents will be verified and you will be asked to pay the visa fees and convenience charges. You can choose to pay by Credit/Debit card or cash.
- Post that, biometrics will be taken.
Charges:
Visa Fees:
Adult: Euro 80 | Approx Rs. 7319/-
Kids: Euro 40 | Approx Rs. 3660/-
Mandatory Convinience Fees: Rs. 150/- per person
Wait for Processing and Receive Your Visa
All you have to do now is wait for the processing to complete. You will be notified of the progress via email and SMS. Visa processing time depends on the country you have applied for and the time of the year.
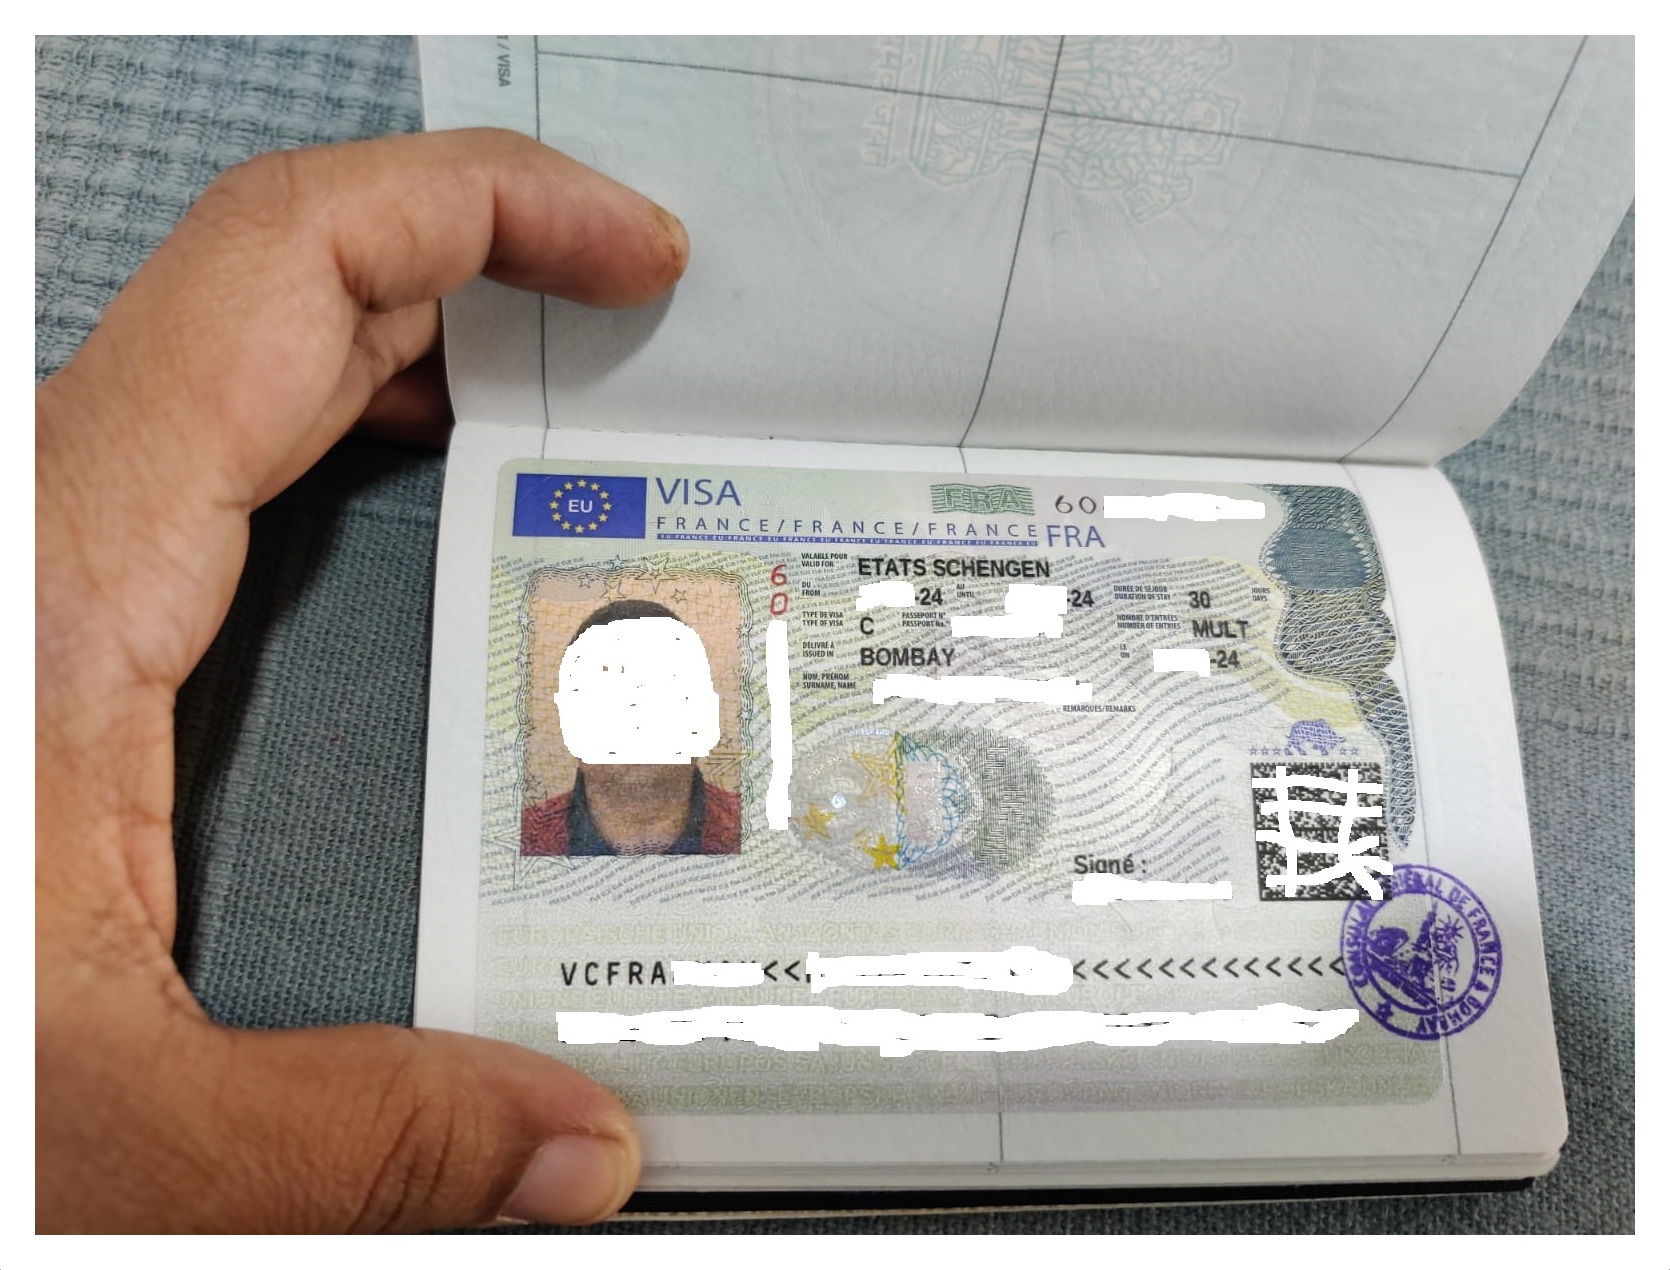
We received our France Schengen visa within 48 hours from the VFS appointment date.
You have to collect your passport(s) from the VFS-VAC or you will receive the passport(s) via BlueDart courier service if you have opted for the same. VFS charges Rs. 500/- per applicant for the courier service but it is still cost-effective considering the time and money you may have to spend to go and collect the visa.
You will know your visa status – approved or rejected, only when you open and check your passport. If your visa is approved, make sure to check the visa carefully to ensure that all the information is correct, including the dates of validity and the number of entries allowed.
References:
https://en.wikipedia.org/wiki/Schengen_Area
Feel free to comment if you have any queries. We will be happy to answer. Also, provide suggestions and we will try to incorporate them here.
If you have found this helpful, please like and share.

2 Replies to “The Definitive Guide to Apply for a Schengen Tourist Visa”